Practical GD&T: Profile of a Surface – Basic Concepts
The ‘profile of a surface’ (sometimes simply ‘surface profile’) control is used in GD&T (geometric dimensioning & tolerancing) to control the form of any 2D surface in 3D space. It is one of the most powerful GD&T controls and can be used with complex freeform geometries.
GD&T symbol
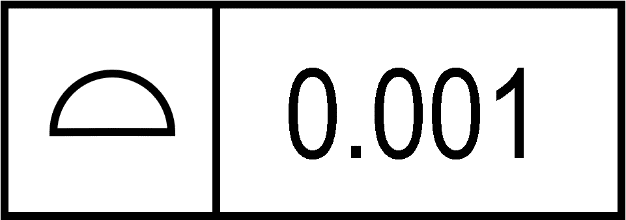
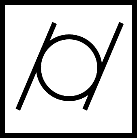
The symbol which will be encountered for the surface profile GD&T control is shown below:

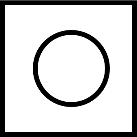
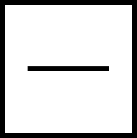
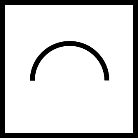
This is the bare minimum; datums and other modifiers may also occur, but it will always include the symbol shown and the tolerance zone size. Take care not to confuse profile-of-a-surface and profile-of-a-line symbols, especially on a low-quality hard-copy printout; the profile of a surface is a closed profile, while profile of a line is an open profile:
Profile of a surface: 
Profile of a line: 
Drawing callout
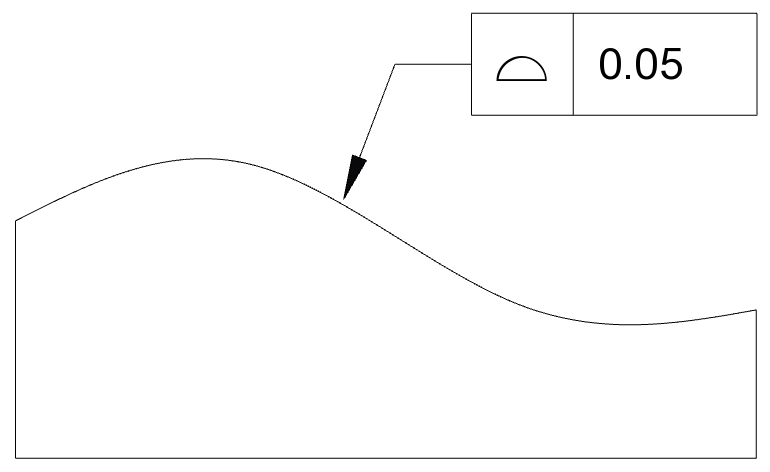
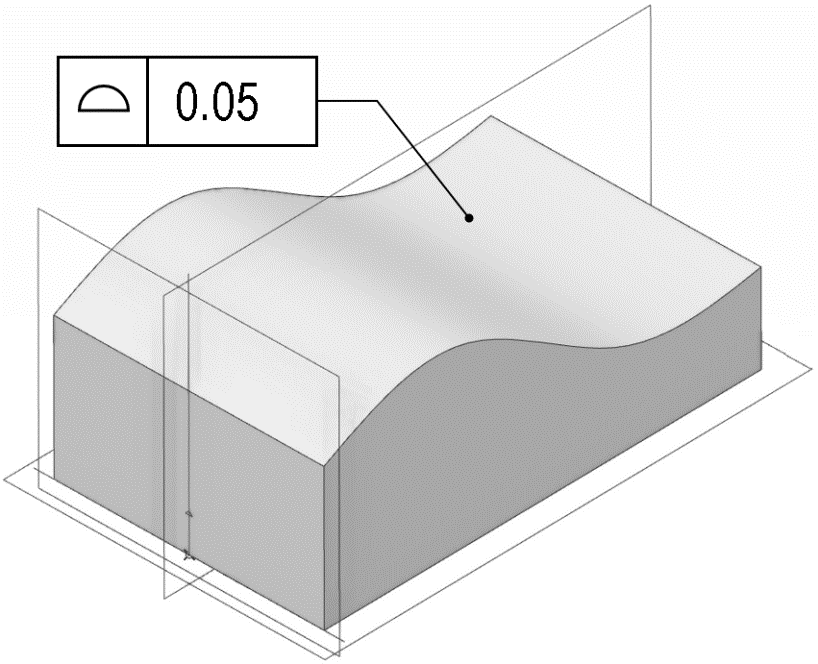
A basic profile-of-a-surface callout is shown on a drawing below; here we deliberately consider a very simple shape (with the profile only varying in one direction) and a very simple callout, with no modifiers:


An important point in passing is that the surface geometry must be defined numerically somewhere as part of the inspection package, or else inspection is not possible (see the article on profile of a line, where we unpack this in more detail).
This is obviously a very simple example, and a lot can be said about the many variations that are possible.
Firstly, note that this callout has only a tolerance value, and the surface profile symbol. There are no ‘in between’ modifiers, specifying a limited range over which the control applies; no datums specifying a reference frame and constraint on positional tolerance, and no material modifiers. Fully covering these is beyond the scope of this article (please consult the standards referenced below if you need to dig deeper).
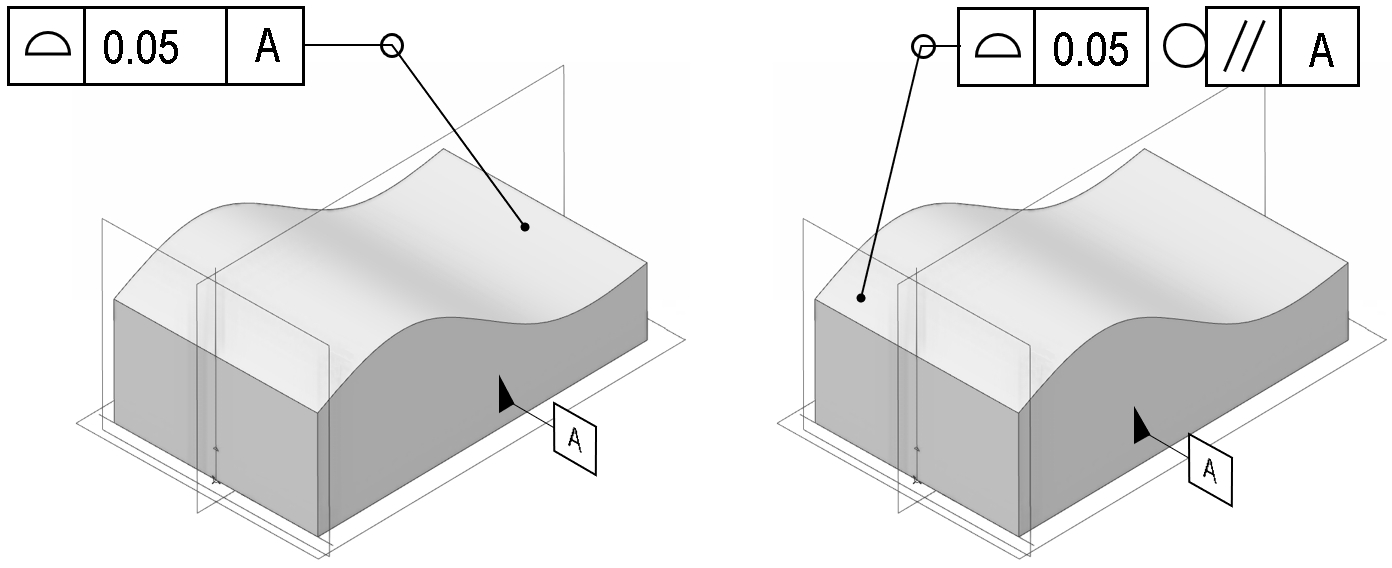
As a case example (and it is one of many): one such detail to watch out for is the “all around” modifier; this small symbol (a circle at the junction of the callout arm) changes the meaning of the control to include faces all around the part, as shown:

This is still a very simplistic case; another small step towards more realistic callout would be needed on a 3D drawing to indicate the relationship with the end-faces of the part, not shown in the above simple 2D view. This is one of many points where notation differences between ISO and ASME start to emerge, see below:

Above: indicating an ‘all over’ surface profile with ASME and ISO symbology
ASME and ISO also differ somewhat in how a continuous tolerance zone here would handle sharp transitions at the corners; read the article on profile of a line where this is covered with a graphical example.
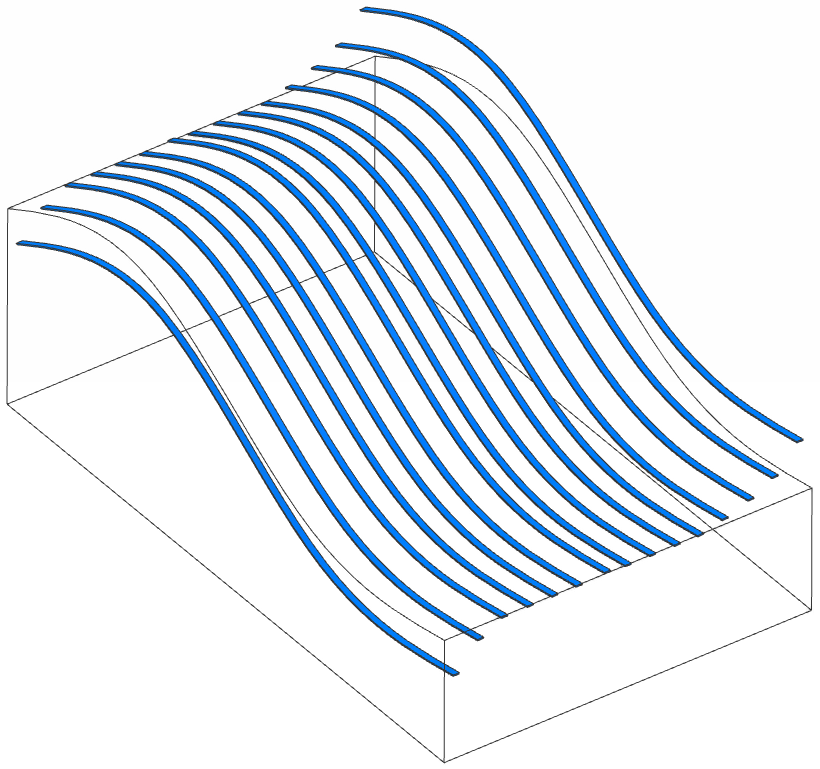
The above example geometry (essentially a freeform prism) was deliberately chosen for a simple visualisation; of course, on this part, a ‘profile of a line’ constraint could also be applied, with the same reference line geometry evaluated at each location. However, a line profile could pass if all of the individual line profiles were in tolerance, but positionally were out of alignment with one another – because for a line profile control, each line is evaluated independently, and their position relative to one another is not under control (for some application this might be the desired effect; always consider the needs of your specific application).

Above: each line scan could pass a ‘profile of a line’ check individually, but a ‘profile of a surface’ check would fail, due to the constraint on the overall form.
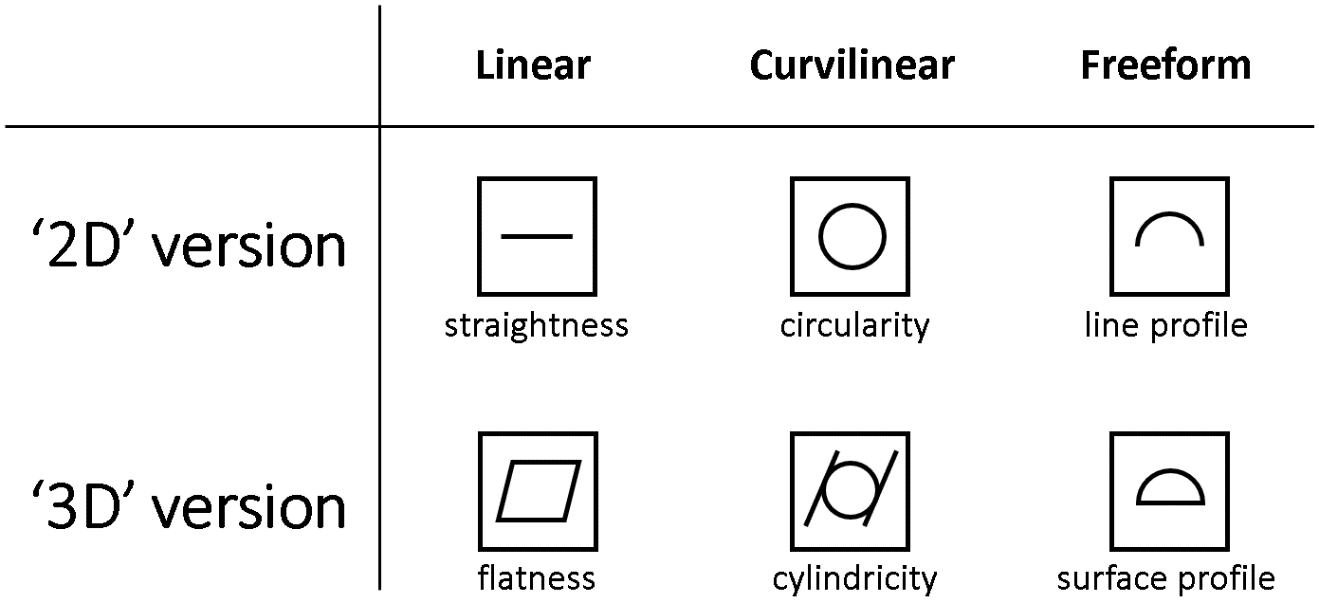
For the purposes of getting familiar with the basics, the “profile of a surface” control is sometimes described as being to ‘3D’ what “profile of a line” is to ‘2D’. In this sense, it is then compared to the more simple form controls: straightness, flatness, roundness and cylindricity:

If this is helpful for getting familiar with the basics, then it may be a good starting point, but this is an over-simplification and should be treated with caution. All surfaces are inherently 2D and no surface can be 3D, by mathematical definition – and in real life all parts being measured are 3D objects, so ultimately all GD&T callouts operate on 2D surfaces in 3D space. A straightness or roundness constraint can apply across a full surface on a 3D object; it just operates in a different way. And the behaviour of any of these controls can be changed drastically by the way that they are included in drawings or section views, or the way datums or GD&T control modifiers are used. If the ‘2D versus 3D’ table is a useful aide mémoire that’s fine – but don’t let it constrain or over-simplify your understanding of the full spectrum of ways these controls can be applied.
(This idea of ‘2D’ and ‘3D’ controls will be revisited in the comparison of circular runout and total runout, where again it is not the best labeling to use – see the total runout article for more).
Applications
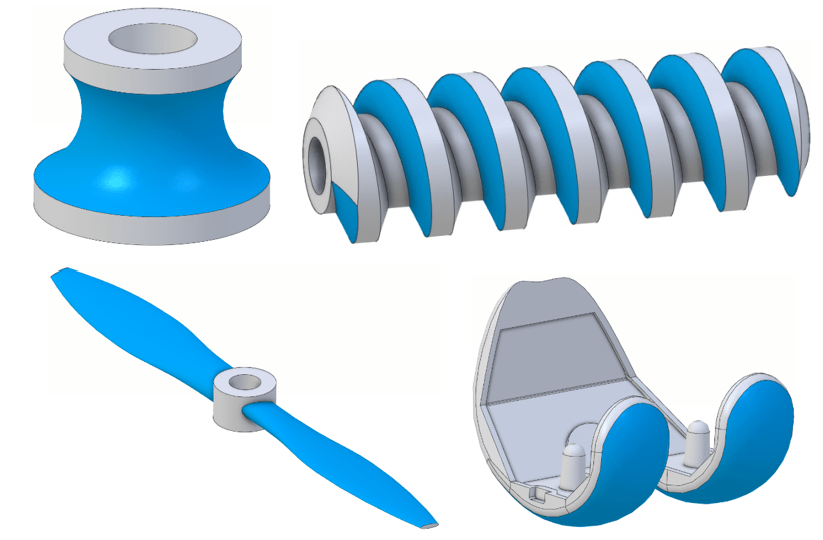
Profile of a surface controls can be applied to just about any geometry imaginable. Often, other controls might be more suitable for simpler geometries where possible, but as the examples below the surface profile control extends the capabilities of GD&T tolerancing across a much wider range of geometries:
Standards
It is strongly recommended to refer to the full standards for the ‘profile of a surface’ control, as there are more details than can be included in this short review. The most recent (2018) release of ASME standard Y14.5 contains a number of helpful practice applied examples, explaining different ways to use the control. Similarly for ISO, both ISO 1660 (which specifically focuses the line and surface profiles) and also ISO 1101 (which has a wider scope) give plenty of useful practical examples of different uses of the control with various modifiers and datums.
Interested in fast and accurate measurement of precision components with an optical CMM? Try the OmniLux range of coordinate measuring machines.
Overview of GD&T
For an overview of GD&T including the other symbols, please see our practical guide.






Special case: Sphericity
